
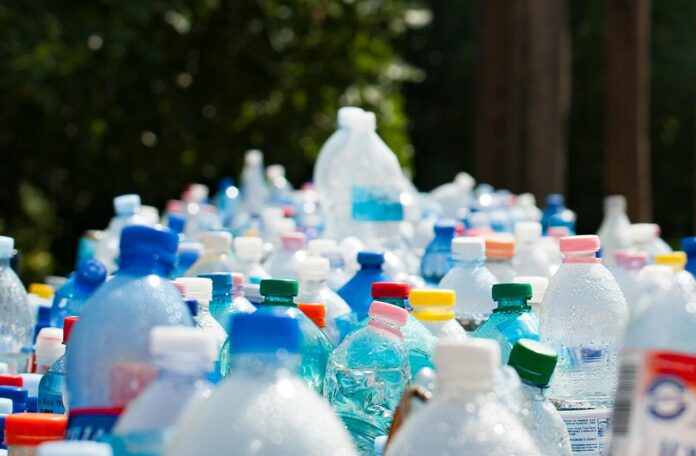

After learning about single-use plastics, students repurpose these materials in new and imaginative ways through creative DIY projects.
Grade Level: K-6
Learning Objectives:
- Explain what single-use plastics are, giving examples
- Recognize how plastic can impact the environment
- Identify ways to reuse materials instead of discarding them
During this activity students will:
- Learn about different uses of single-use plastics (convenience, health and safety)
- Discuss actions that can help reduce plastic waste
- Create something new by reusing single-use plastics
Materials
Instructions
- Invite students to share what they know about single-use plastics and how they can impact the environment (pollution, animals might mistake them for food, they can hurt habitats). Ask students to identify which types of single-use plastics they think are most common in everyday life.
- Explain that reusing materials is one way to help reduce waste. Choose one of the activities below, or design your own, and encourage students to transform single-use plastics into something new.
- Once students have finished, showcase their creations to help inspire others to reuse materials in creative ways.
Recycled Bead Curtains
- Have students canvas the trash/recycling bin at school or at home for colourful easy-to-cut single-use plastics such as bottle lids, detergent containers, plastic packaging, and straws.
- Carefully clean the plastics.
- As a class, make the beads. Cut shapes out of your plastics, poking a hole in the middle so they can be tied onto string. Thinner plastics can be made into beads by cutting them into strips and rolling them up into beads of different sizes. Straws can be cut into pieces for instant beads.
- Decide where to hang your curtain and cut pieces of string to length. Tie on the beads, put up the curtain and admire your artwork!
DIY Plant Pots
- Rip scrap paper into pieces. Mix the glue with a little water in a wide dish until it gets a bit runny.
- Cover the tables with tablecloths/newspaper – this is where things get a little messy! Have students dip each piece of scrap paper into the glue until coated and put it onto the bottom of their container. Have them smooth it out with their fingers making sure the pieces overlap and the whole container is covered. Have them continue adding pieces until they have 2 to 3 layers.
- Wait for the pot to dry completely; this will usually take about 48 hours. Once the pots are totally dry, flip them over, trim any loose edges.
- Students can now transplant seedlings or other plants into their pots.